This is the second part of our article in which we explain, how to install an SAP Datahub on an Open Source infrastructure. The following expects that you successfully have a Kubernetes cluster running and additionally, fulfil all other requirements for the installation. Not sure? you are welcome to start with part 1: Basic thoughts, installation steps and checkpoints for the Datahub infrastructure.
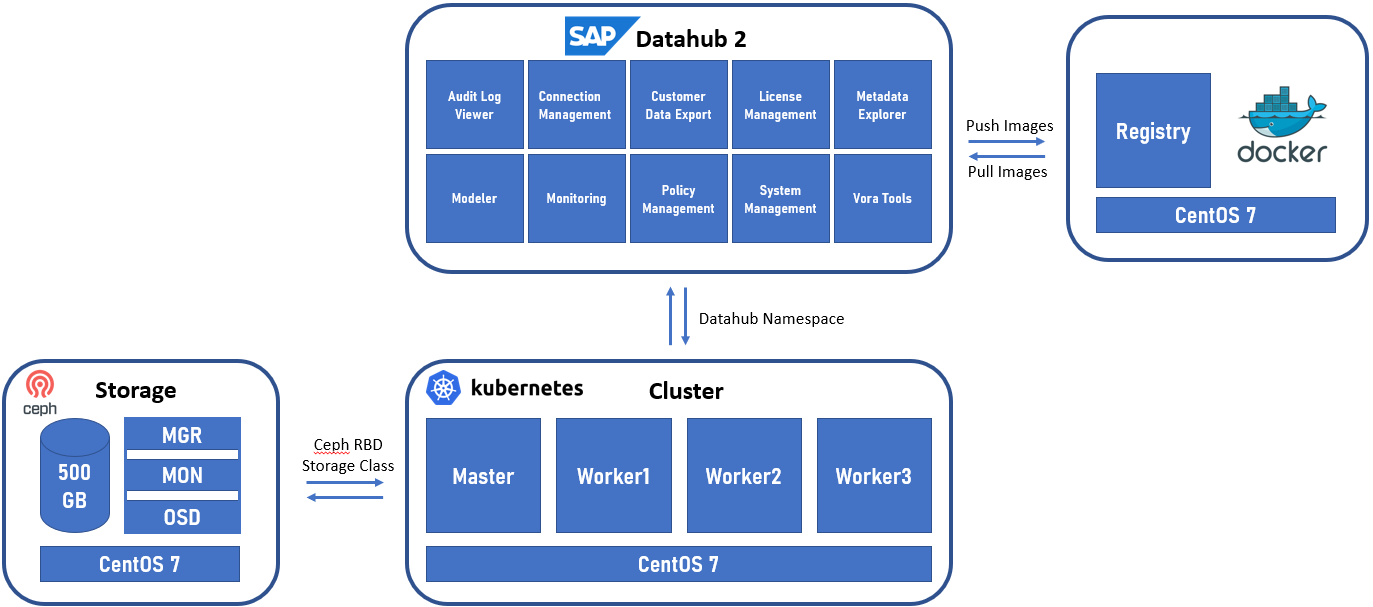
Installing and configuring the so called in the installation guide “Jump Host”:
This is a Linux machine with the requirement of at least 50GB for the images (registry). However, to be on the safer side use a bigger disk. Here is the filesystem usage after all steps are completed (to get the estimation for the size):

For this machine I have used CentOS 7, updated to the latest version. As every SAP system that uses SAP Host Agent, it is needed to have the correct record in the DNS and hosts file. After this we will be able to start the setup. Few abbreviations will be used in this document: DH – Data Hub, HA – Host Agent, JH – jump host, Kubernetes Cluster – KC, SAP Maintenance Planner – MP.
JH is going to be used for few things:
- Transfer and execute the MP’s generated XML
- Installation host – where the setup is executed, and commands are sent to the KC
- Registry (as repository), where the Docker images will be downloaded from SAP and stored to be provided to the KC
- Registry for the used apps by DH
Same as any other SAP system installation, we start by logging in MP. We select Plan a new system -> Plan:
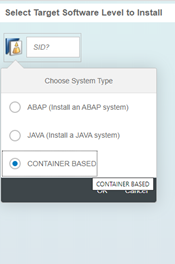
Here the container-based option is selected, after this the SID is automatically set to CNT. Then we must select the product – SAP DATA HUB is the only option. After this – the version – 2:

After confirming the action, we continue with the standard procedure of pushing the files to the download basket followed by the step of ‘Execute Action’ selection. After clicking on it, we will have to get the address and port settings to be filled – in our case the hostname of the JH and the port of the Host Agent. At this very moment, when selecting Deploy of the XML file from the MP, the feature called CORS (Cross Origin Resource Sharing) will be used. After successful result, when reloading the web of the JH, we will get the following option:
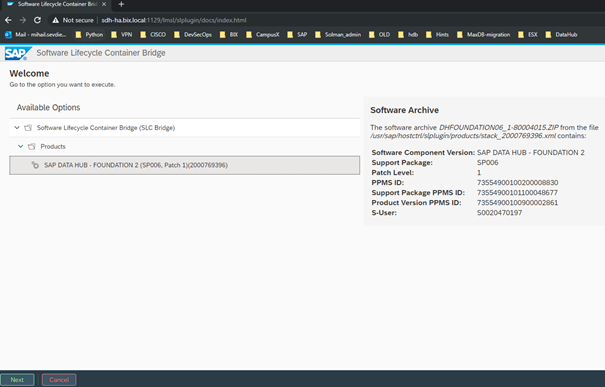
As you can see, the XML from the MP is transferred, and the selected version is displayed with its patch level.
We can now start the process of installation using the Next Button.
The first step is to provide the S-User and this will be needed to download the files from SAP’s Launchpad needed for the installation media for DH and later – for the Docker image repository, to download the images to our local Docker registry.
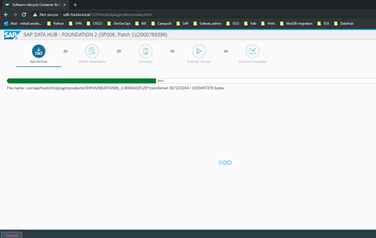
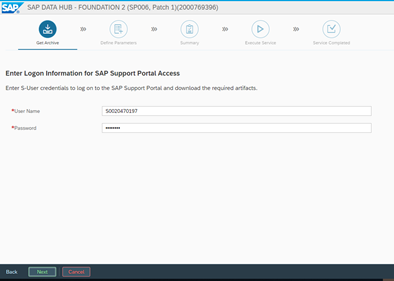
The process is pretty quick, since it now only downloads the needed ZIP archive. Alternatively, this can be done manually and the files can be uploaded in the SLC bridge folder. However, we have internet access, therefore we will use the option of automatic download.
Successful download is confirmed by the version info of the file:
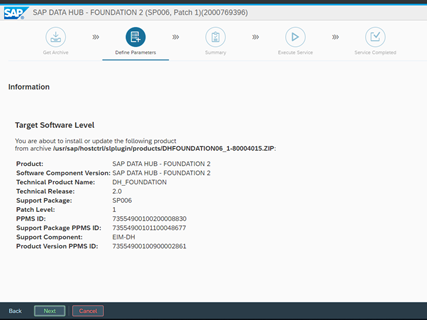
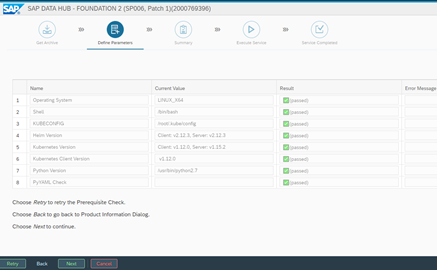
We confirm by clicking ‘Next’ and find ourselves in the step of the verification. By using the KC config file, the prerequisites are checked and if there are problems with the version compatibility there will be a warning. In our case it is all good, so we can continue.
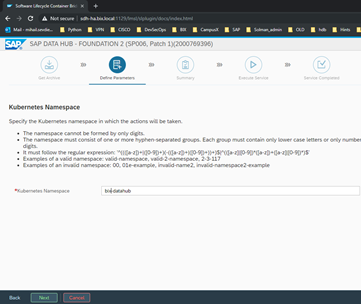
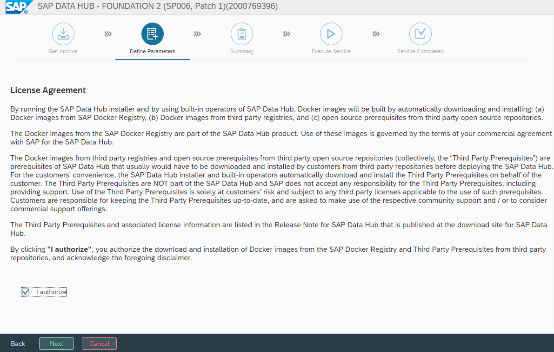
The next step is to select the name of the KC namespace, that will be used for the DH and after this we have the License Agreement to check:
After selecting I authorize, we can proceed to the next step:
We can select Advanced installation and after this we have to select “Do Not use” on the next step for the repository images. This will set the option to download the images. If we use offline installation, we have to select to use the already downloaded images. On the next steps, we have to provide again the S-User that is going to be used for downloading the images for Docker.
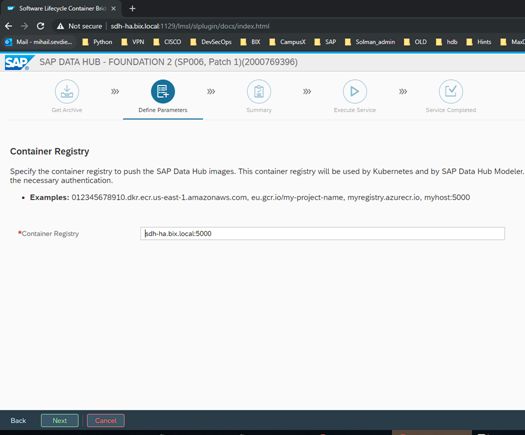
After this we have to provide the local Registry’s address.
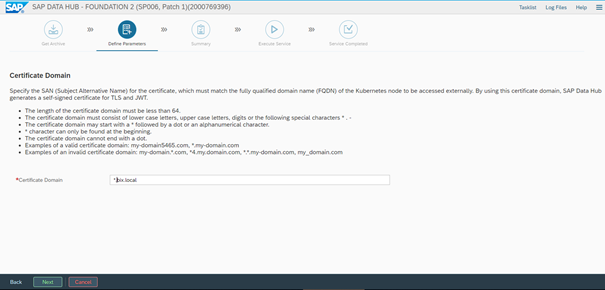
Next we have to choose the certificate domain for the installation.
On the next steps contain the required tenant name and admin details for it. Two tenants will be created – one system and one user’s tenant. The system one can be used for creating more client’s tenants. In our case we will create a tenant with the name “bix-consulting” and we will set username for administration to be admin with a strong password.
The next prompts are for Cluster proxy settings – we are not going to use ones, so we can select “Do not configure” and also, we will not use checkpoint storage configuration.
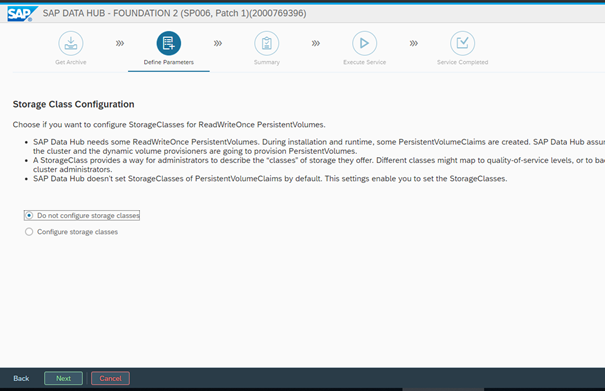
After this, we will be prompted for the Storage Class used for the installation. In our case we have configured the KC to have a default one, so we will let the setup to detect the default one and use it for the persistent volumes:
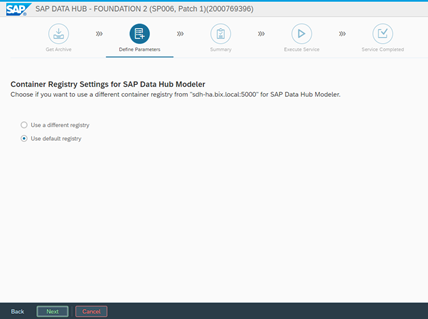
On the next step, we can set the Docker registry used for the Data Hub Modeler. It can be different from the one used for the installation, but in our case, we will use the same one:
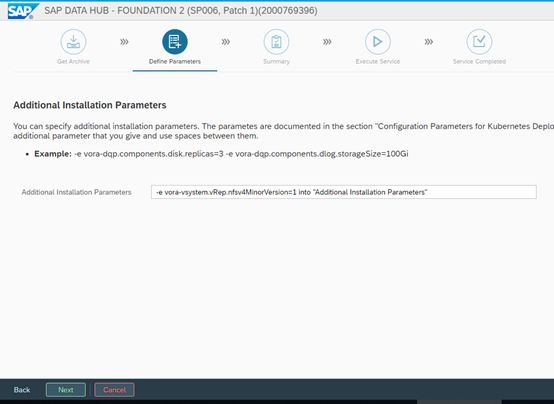
Then we select to Load the NFS modules (default selection) and set custom parameters. They are available in the SAP’s DH installation guide. In our case we will use only one parameter:
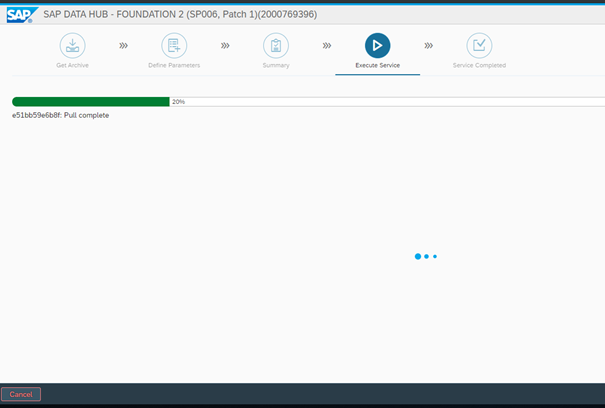
After this we can review our input and start the process if we don’t have to make any changes. It will begin with copying the Docker images into the local Repository (catalog):
And then it will start to deploy the images on the KC:
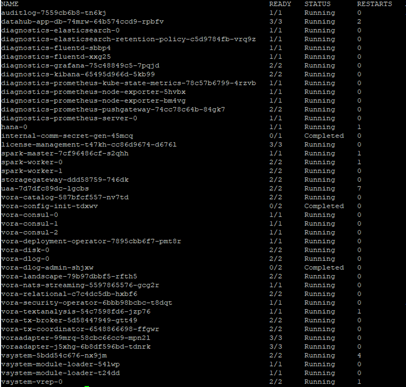
If everything is running fine, the setup will have the following result:
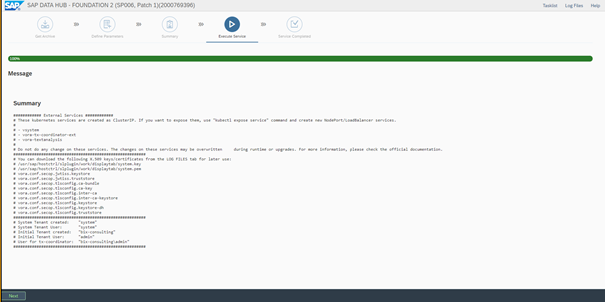
After this, we have to expose the web service to the nodes and login into the system:

We can test the installation by starting a demo application for generating random numbers. It should bring up a pod and start the code there. It is important to note, that after completing a task, we should stop it and then delete the pod from the web interface, otherwise the pod will stay in the KC with status Completed.

By completing the Modeler test, the SAP Datahub installation is finished successfully. We would appreciate any kind of comments and hope, you enjoyed reading. See you soon!
Contact Person


